Low-Carb Chilli Con Carne

Standard

P1030830

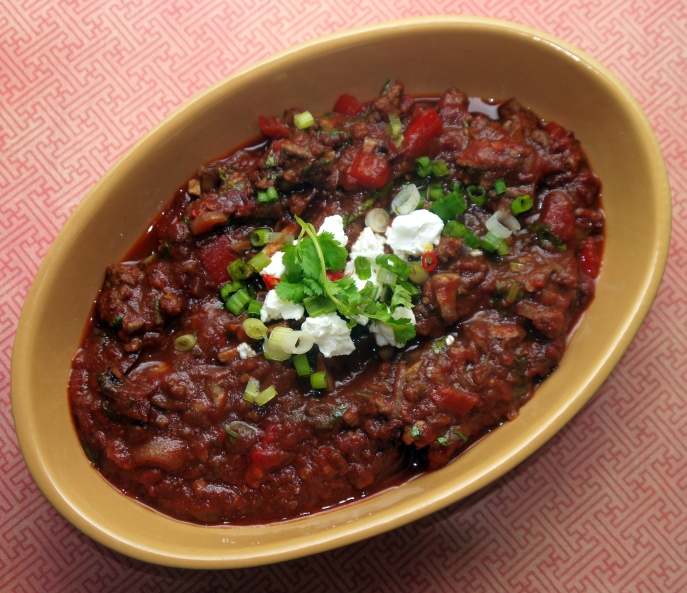
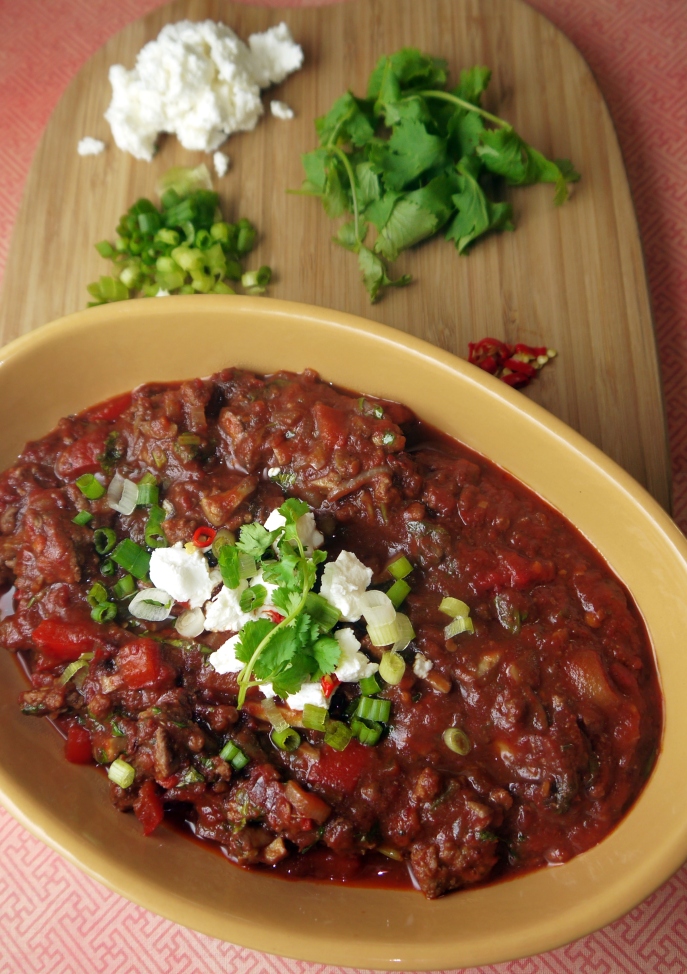
This is classic comfort food that warms you up on a cold winter day. This week is particularly cold (less than -20 with the wind chill), so this flavourful, spicy chilli is perfect. With the colourful garnish, it’s also delicious for the eyes.  This particular version of the classic chilli con carne is low in carbs, as I have eliminated the beans.

I know the jury is out on whether or not mushrooms are a desired ingredient in chilli, however, I love them.  I think they’re delicious.  And they happen to be one of those veggies that, when cooked, have a certain umami…if I’m using this word correctly.  They add richness and meatiness.

Now beans are often seen as a great healthy option.  I have decided to avoid legumes as part of my diet because, although they do have protein, there are many ways to get higher amounts of protein for less calories.  And they come with a lot of carbs – which is something I’m trying to avoid.  If you have your heart set on some kind of beans, by all means, add it in when you add the passada.

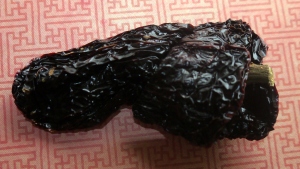
I went to the states a while ago and picked up some fun Mexican ingredients that I have difficulty finding in Canada.  If anyone knows where to get stuff like dried ancho chiles in Southern Ontario, please let me know!  Anyway, I took my inspiration from Jamie Oliver here – soaking and blending up a dried ancho chile to add flavour and perceived sweetness to the recipe. Here’s what this beautiful thing looks like:

P1030836

Nutrition Information :

This is based on dividing this recipe into 4 servings.

  • Calories:324
  • Carbs: 19g
  • Fat: 14g
  • Protein: 25g
  • Sugar: 12g

*Note: pretty much all the sugar here comes from the passada. This isn’t added sugar – it’s sugar found naturally in the tomatoes. Natural sugar is still something I try to keep to a minimum – but really you can’t make chilli without this ingredient!

Calculations are made without the addition of the optional garnish but with the ancho chile included.

Ingredients:

  • 1 tbsp extra virgin olive oil
  • 1 small Spanish onion
  • 250 grams sliced crimini mushrooms
  • 1 bell pepper
  • 2 cloves garlic
  • 350 grams extra lean ground beef
  • 1/2 tsp cayenne pepper
  • 1 tbsp ground cumin
  • 1 tsp dried oregano
  • 1/2 tsp salt
  • 1 jar passada
  • 1 dried ancho pepper (optional)
  • 1/4 cup chopped fresh cilantro
  • goats cheese (optional)
  • 1 red chile (optional)
  • green onion (optional)

How to:

  1. Heat a large pan on medium heat. Add the olive oil.
  2. Roughly chop the onion, mushrooms and pepper and add to pan.  Add 1 chopped clove of garlic. Cook til onion is translucent and mushrooms change colour/texture – about 6 minutes.
  3. Remove veggies from pan.
  4. Meanwhile, bring a kettle to a boil and pour enough water over the pepper to cover.
  5. Crank up the heat and add the meat and the spices and second garlic clove. You do not need more oil in this step because fat/liquid is rendered from the meat.
  6. Stir regularly and cook until meat is browned and cooked through.
  7. Blend the pepper and water in a blender and add to meat.
  8. Add passada and veggies to the pan and stir well.
  9. Bring down heat and simmer for 15 minutes.
  10. Add coriander and cook for a further 5 minutes.
  11. Divide amongst 6 plates or bowls and garnish with the other optional items.

P1030822

Spicy Minced Pork Stir-fry with Flat Beans

Standard

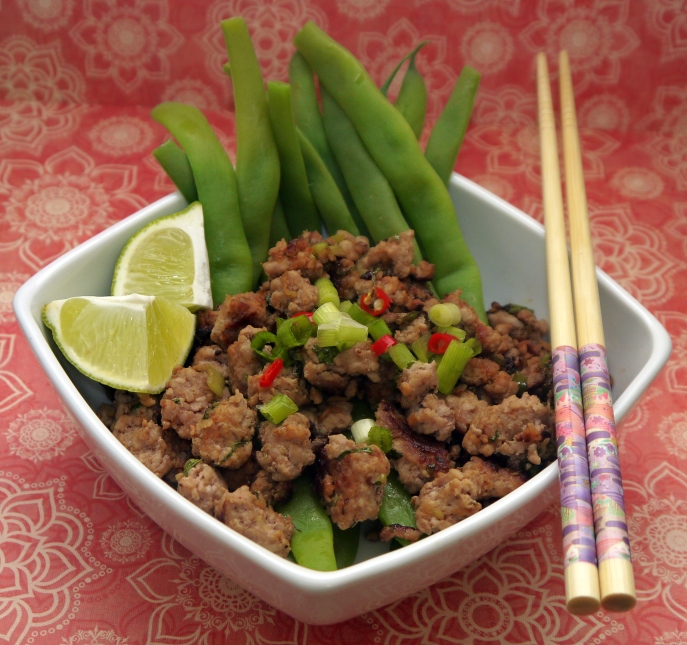
P1030806If you want a delicious, satisfying meal in ten minutes, then look no further!  When I made this, I expected it to be good.  But this still surprised me.  I enjoyed every bite.  This would be great for a busy week night.

Just a little note about fish sauce : it’s really moving up on my list of favourite ingredients.  Health-wise it’s not a superstar – but I use it as a replacement for salt in a lot of the Asian-style dishes I make.  It just adds a little something extra.  It smells really strong…and maybe not that great out of the bottle.  But give it a chance – it’s really tasty!
Ingredients:

  • 1 lb flat green (or Italian) beans
  • salt
  • 1/2 tbsp sesame oil
  • 350 grams lean minced pork
  • 2 cloves garlic squeezed through a press
  • 1 inch of ginger, finely grated
  • 1 tsp sriracha sauce
  • 2 scallions sliced
  • 2 tbsp finely chopped fresh cilantro
  • 1 tbsp fish sauce
  • the juice of 1 lime

How to:

Beans: Put 1 inch of water into a pan that’s big enough for the beans to lie flat in.  Bring water to a boil on high heat, then add salt.  Then add beans. Cook beans on high for 2-3 minutes and then drain.

Pork: Heat a sauté pan or a wok on high heat. Add the sesame oil to the pan along with the garlic and ginger. Sauté for a few seconds – until you can smell it. Then add the pork and sriracha. Stir until well mixed and cook on high until browned.  Turn heat down to medium and add all other ingredients. Cook for another 3 minutes.

Plate it up and if you like, garnish with pieces of red chiles, green onion and/or cilantro.  Yum!

The following information is based on 1/3 of the recipe.  When I made this, I divided it all into 3 servings.  You can certainly eat more of it though if you’re really hungry!

ground pork stirfry

Philadelphia Cucumber Bites

Standard

IMG_0498-002

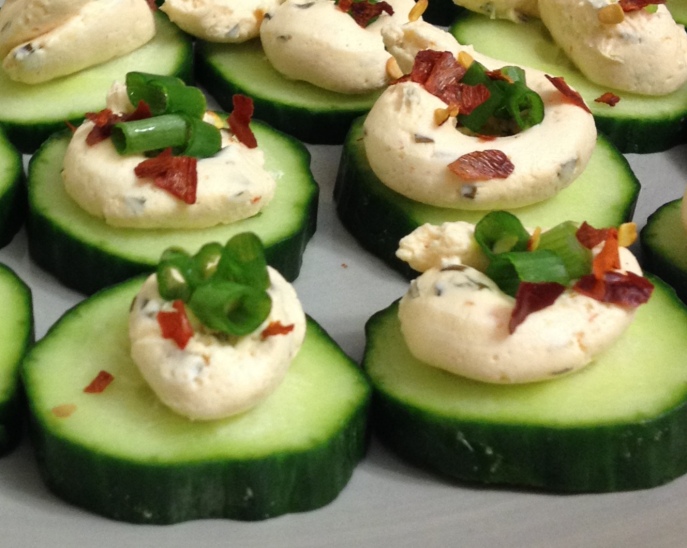
A delicious bite-size snack perfect for your New Year’s Eve party or any other event.  These disappear quickly!  It’s an appetizer that won’t leave you feeling bad about yourself, which is quite important for bringing in the new year!  The contrast of crunchy and creamy and spicy and fresh will entertain the taste buds and make avoiding those deep-fried nibbles a little easier.

I’ve been working on snack foods.  I’m not the average girl – I have no sweet tooth, really. My weakness would be chips and cheese and crackers. Coming up with snacks that I’m happy to eat and leave me feeling satisfied rather than deprived is super important to me on my journey to sculpting the body that I want.

Two of the key aspects to my diet are low carbohydrate and low sugar. So when I choose my ingredients, I’m always looking at the labels for those two things. Of course eating whole foods would be better, but sometimes you need the convenience of prepared foods. In these situations, it’s particularly important to pay attention to whether or not there is sugar added, and if so, in what quantities.

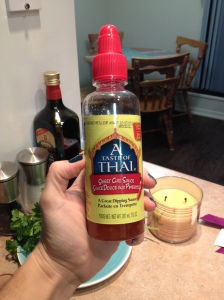
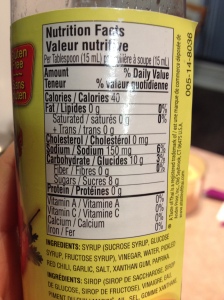
I debated on using a sweet chili sauce – I thought it would be delicious with the cream cheese and cucumber. However the sugar content is quite high:

IMG_0488  IMG_0489

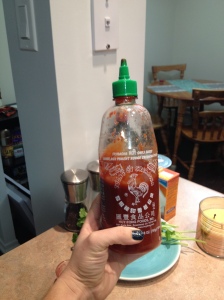
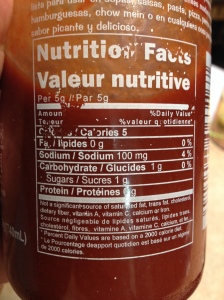
I thought I’d check out some sriracha sauce.  It’s not perfect, but it’s much better.  Especially given that the first ingredient isn’t a sugar syrup…

IMG_0487  IMG_0490

If you took the same amount of each product, you’d have 3 grams of sugar for the sriracha vs 8 for the sweet chili. And we will have 3 grams of carbs vs 10 for the sweet chili. Not bad.

The cream cheese is also not perfect – but it’s not bad. Per tablespoon, there is 1/2 a gram of carbs and negligible sugar. So not bad.

So here we go with our simple, yet delicious appetizer:

Ingredients:

  • 1 cucumber
  • 1 container of whipped cream cheese with chives
  • 2 tsp sriracha sauce
  • chili flakes and green onion for garnish (and added flavour)

How to:

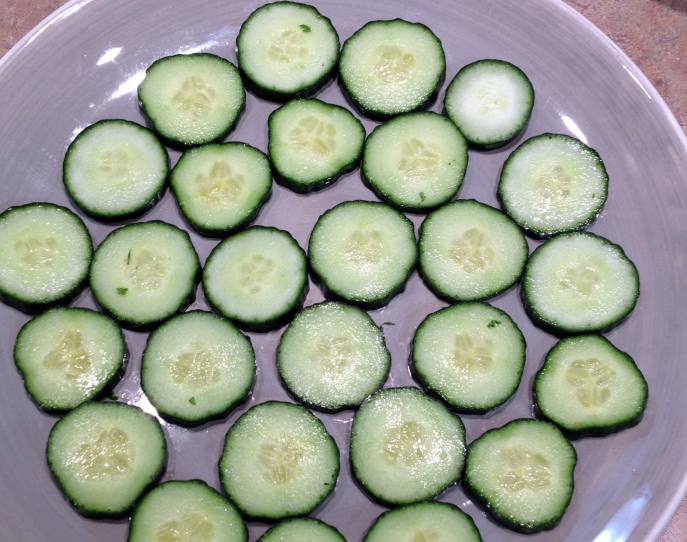
1. Slice up your cukes:

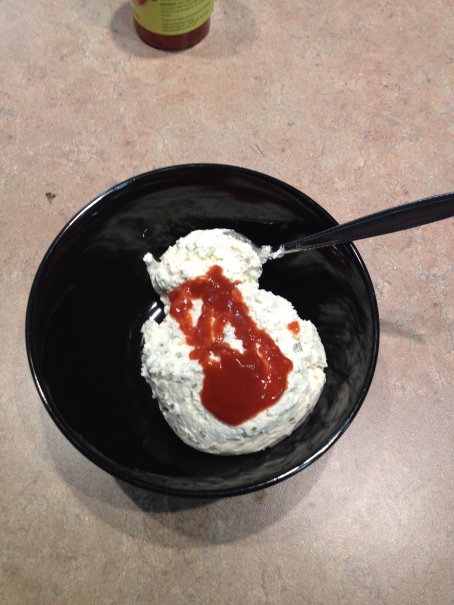
IMG_04922. Mix the cream cheese and the sriracha.

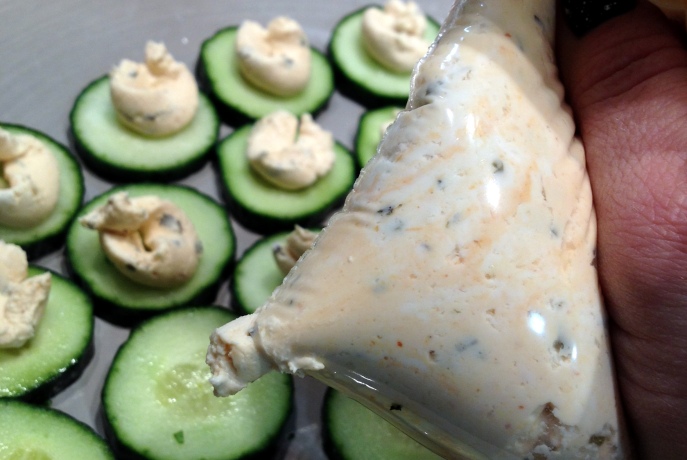
IMG_04913. Add cream cheese mixture to a plastic bag (for piping). Snip off a corner and pipe onto the cucumber.  I’m sure there are a lot of people out there who could make it look nicer than I can…but I still think they look good enough to eat!

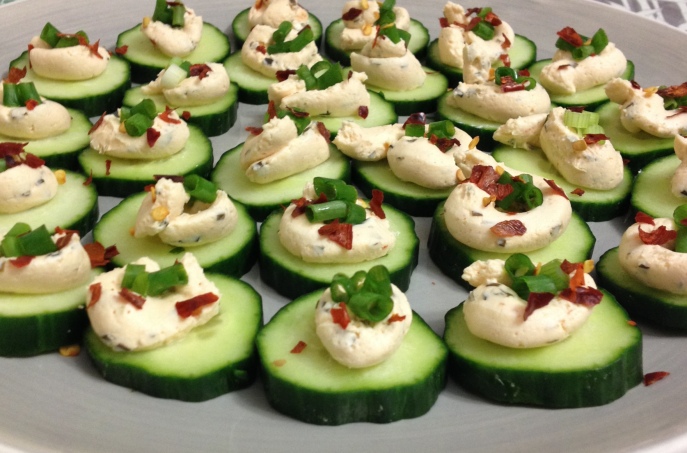
IMG_04934. sprinkle chopped green onion and hot pepper flakes for garnish and for taste – it adds a bit of spice.

IMG_0498-001In the future, I might make these again and add smoked salmon for extra protein, omega-3s and to make it even more like a Philadelphia roll.  In any case, they’re good the way they are. I served them at a small dinner party and they disappeared!  I made some more for my own personal snake and they definitely satisfied my cravings for savoury and crunchy. Hope you enjoy!

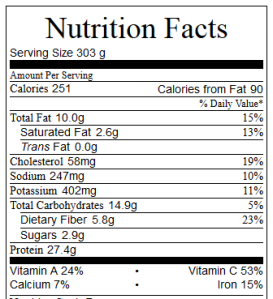
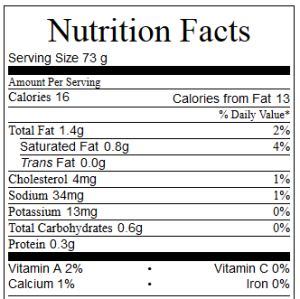
P.S. If you keep track of this sort of thing, per cucumber bite:

philadelphia bites nutrition per

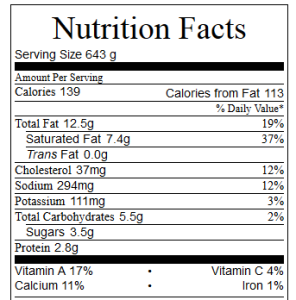
And if you want to go crazy and eat 1/4 of the recipe (which is exactly what I did) :

philadelphia bites nutrition

Thai Green Curry Chicken Skewers with Ginger “Quinoa”

Standard

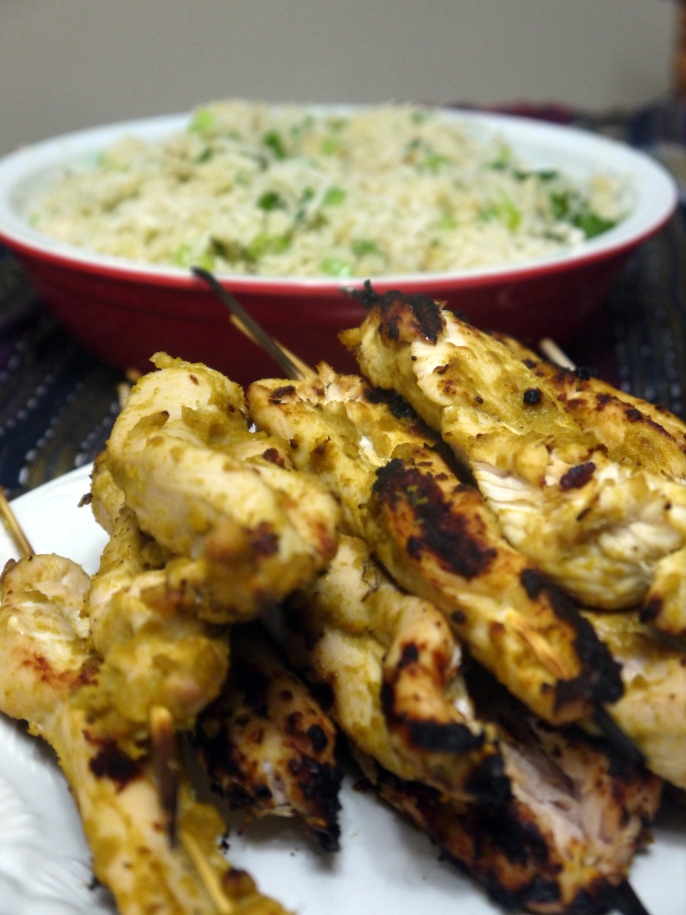
P1030343

Sometimes, especially when I’m busy, I lack creativity and ideas.  This is when I pull out my favourite cook books.  I have many favourite authors, but my go-to recipes are always by Donna Hay, Jamie Oliver and Giada DiLaurentiis.  When I flip through the pages of these cookbooks, I salivate because the food looks so fresh, flavourful and satisfying.  Although these particular chefs have healthy ideas, their recipes aren’t particularly low-carb.  So this is where I work my magic.  So today, I’m taking liberties with Donna Hay’s recipe of the same name from her latest cook book, Fresh and Light.

index

My biggest change?  I didn’t use quinoa.  I used cauliflower.  This recipe is super filling because you really can eat as much cauliflower as you want with good conscience.  You’re also getting a nice big dose of protein because each serving is a whole chicken breast.

Why you should eat this :

1. Protein.  You need protein to build those nice, lean, sexy muscles and to recover quickly from your workouts. It also is satisfying, so you won’t need a midnight snack if this is your dinner.

2. Cauliflower.  A.k.a. cruciferous vegetables.  These should be a part of every diet where fat-loss and an increase in muscle are the goals. Just ask Jillian Michaels or Bob Harper. They both encourage eating these every day. Aside from all the nutrients cruciferous veggies provide, they may also increase testosterone.  This might sound scary for the ladies, however, this is a good thing for burning fat, increaseing muscle, and generally having an elevated motivation for physical activity. So eat up!

What you need :

  • 2 tablespoons Thai green curry paste
  • 1/4 cup coconut cream
  • 4 chicken breasts sliced as evenly as possible into strips
  • 1 tablespoon of olive oil
  • a head of cauliflower
  • 1 tablespoon of finely grated ginger
  • 1/2 cup chopped coriander
  • 2 green onions
  • 1 teaspoon sesame oil
  • lime cheeks and extra coriander to serve

How to make it :

1.  Soak your skewers!  If you’re using wooden rather than metal skewers, you must soak them for a long time.  I soaked them for 30 minutes and this wasn’t even close to being enough time.  At least an hour should help to prevent the skewers from burning.

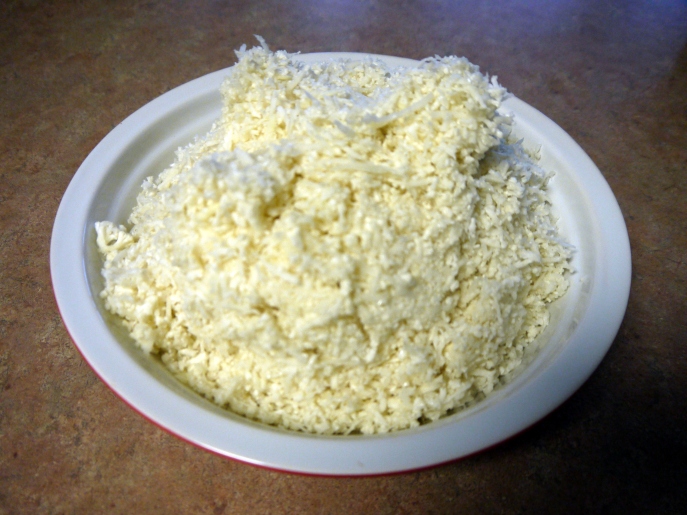
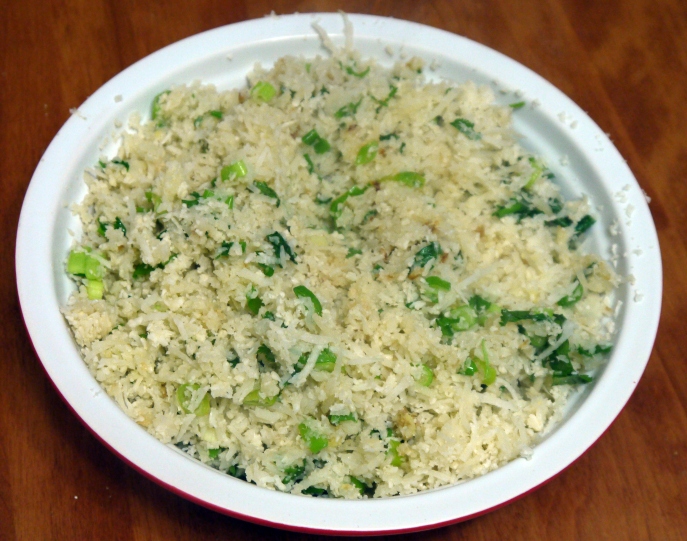
2.  Start with your washed head of cauliflower.  Put it in the food processor on the grater setting.  I don’t have one of these nifty kitchen appliances, so I went to my mom’s house and used hers. This will save you so much time.  Honestly if I tried to grate it all by hand it would probably take me at least 15 minutes.  With the processor it was about 2.  The entire head yielded about 4-5 cups of shredded cauliflower “quinoa.”

P1030308

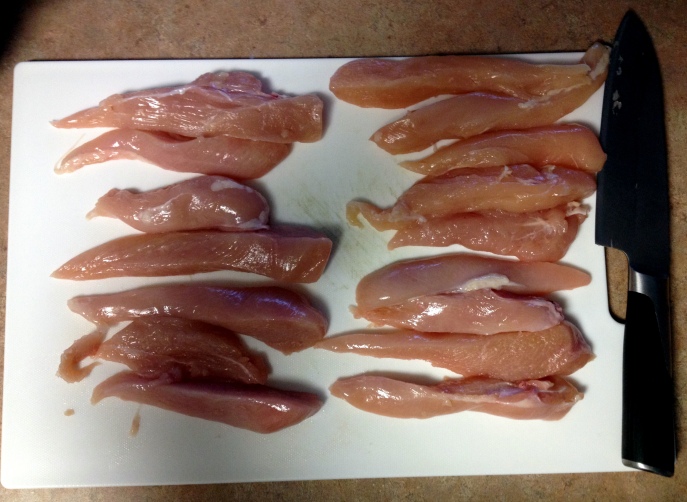
3. Make sure your chicken breasts are evenly sliced.  Mine weren’t, which lead to a bit of a hassle when it came to grilling them.  I made 4 slices per breast, but feel free to make more.  With the topping for the chicken, the meat stays nice and moist even if you cook them well and have small pieces.  IMG_0132

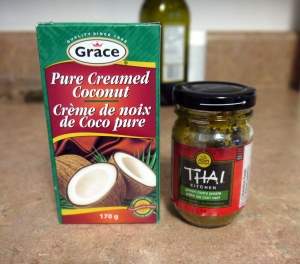
4. With that out of the way, mix up the coconut cream and the curry paste.  I used these brands and they worked well and tasted amazing:

P1030318

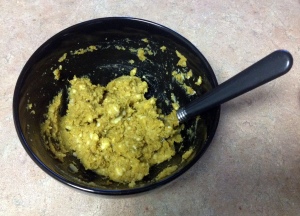
The creamed coconut has almost the consistency of lard, so it’s a bit finicky to mix it, but it’s definitely worth it in the end because it tastes so good.

IMG_0129

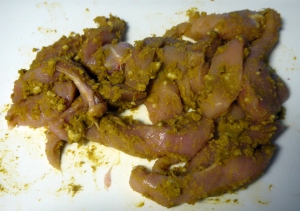
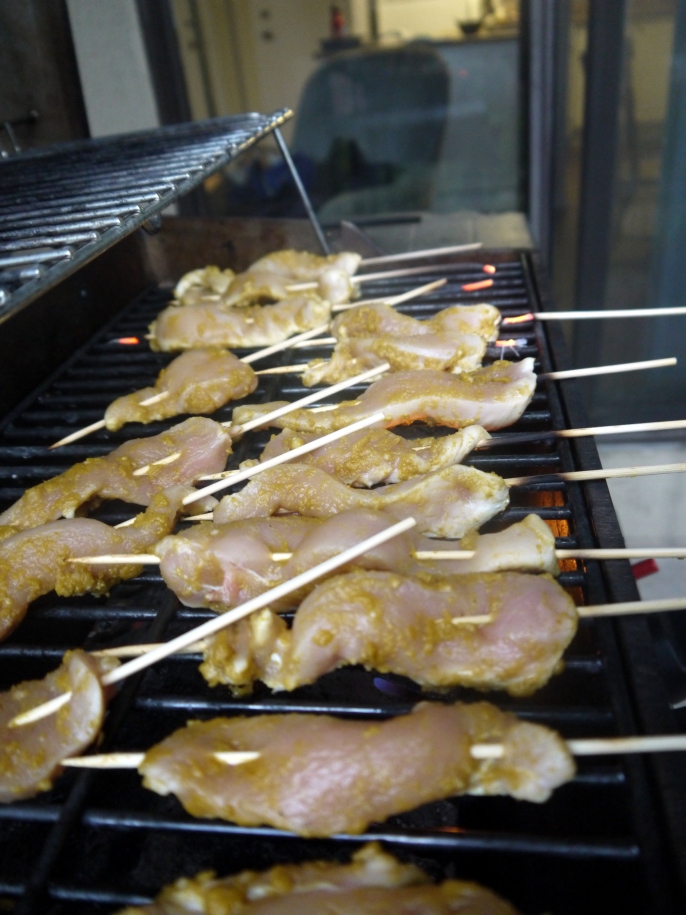
5. Now it’s time to smear it all over those breasts.  You’ve really got to work it in so that every square millimetre of surface area is covered to maximize the flavour.

P1030325

I know it looks a bit nasty, but it smells delicious!

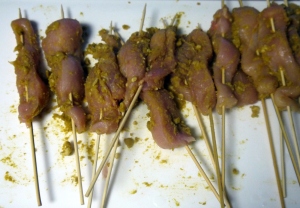
6.  Now time to skewer the meat.  Make sure you do it well so that the meat stays on the skewer throughout the grilling and eating process. I sort of weaved mine onto the skewers.

P1030326

7.  Onto the grill!  I preheated my grill for about 10 minutes on high and then reduced the head to medium high.  The pieces are small enough that they cook through fairly quickly so a hot grill is ok.

P1030333

Grill for 5-7 minutes and then flip and cook for another 5.

8. Meanwhile, we can get going on the “quinoa” which isn’t really quinoa.  Now I know that quinoa is a super trendy health food with a very high protein content considering that it’s a grain.  My thing about quinoa is that it’s quite calorie dense and I don’t really care about it as a source of protein because I eat meat.  Not to mention the fact that it only has about 5 grams of protein per serving, when I’m looking a whole lot more than that for my meal.  So anyway, enough about that.  In a pre-heated pan on medium heat, heat some olive oil (or grape-seed or whatever you want).  Then add in your cauliflower and sauté.  Then add in your tablespoon of ginger, green onions and sesame oil.  Once some of the cauliflower gets a bit golden, add in your cilantro and then remove it from the heat.  This doesn’t need a ton of cooking time, really the purpose of the sauté is to add flavour and to mix all of these beautiful ingredients together.

P1030340

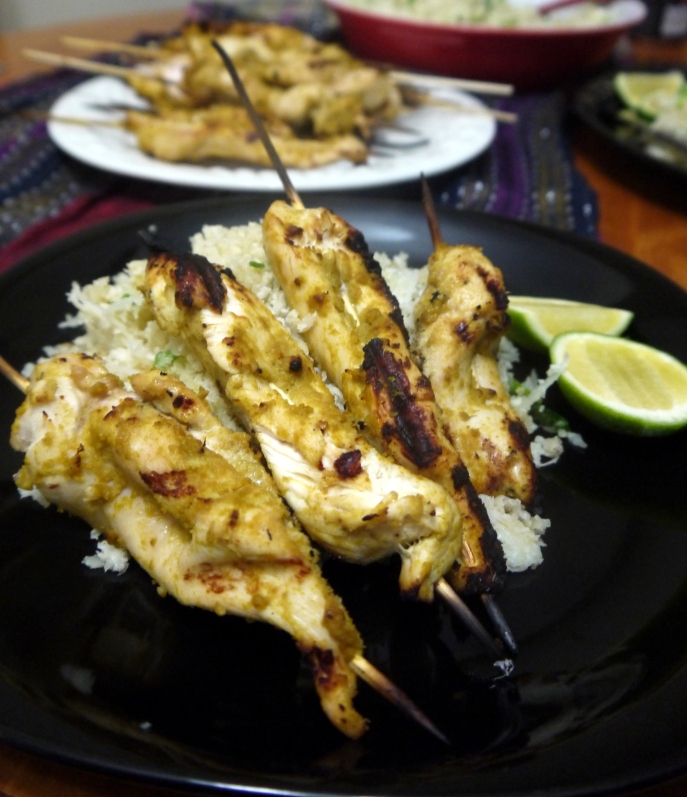
9.  Plate it up and enjoy!  This made 4 meals for me, each serving with a mountain of cauliflower “quinoa.”

P1030349

Tuna Guacamole

Standard

IMG_0115

Searching for a pool-side snack that you won’t feel guilty about later?  Well look no further. This dish is actually so delicious that when I made it I ate it all in one sitting. And I didn’t feel guilty about it in the least. It’s packed with nutrients. If you eat it with low-carb veggies than it is truly a guilt-free snack that’s good enough to make if you’re entertaining guests or just getting a little peckish between meals.

The inspiration behind this dish came from my personal trainer. He is always full of great, simple ideas of food to eat that’s high in protein and nutrients. He suggested mashing 1/2 an avocado with a can of tuna to spread on Ryvita crispbreads or toast. I tried it and it was delicious and simple to make – a great standby for a pre or post-workout meal. I then thought, why not make a protein-rich guacamole with even more flavour?

Ingredients :

  • 1 tin of tuna
  • 1 ripe avocado
  • juice from 1 lime
  • 1 tsp salt
  • 1 tsp cayenne pepper
  • 1/2 chopped cilantro
  • small chili chopped (optional)

How-To :

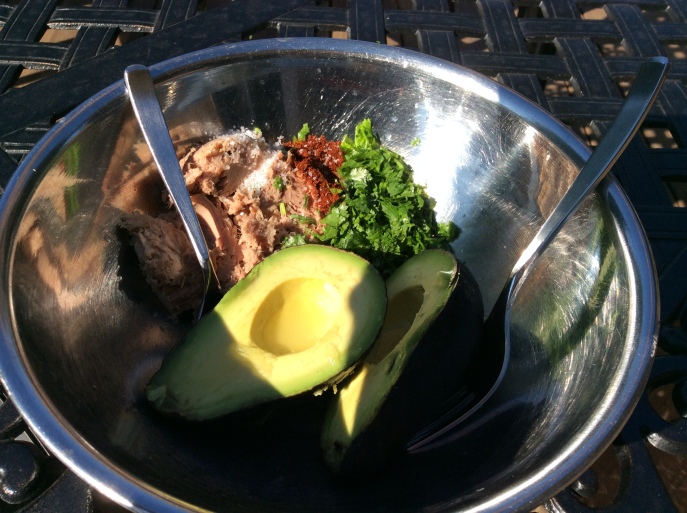
1. Cut avocado in half, take out the pit and scoop both halves into a bow. Add all other ingredients.

IMG_0111

2. Mash all ingredients together with a fork until it’s all mixed together but you can still identify all your ingredients.

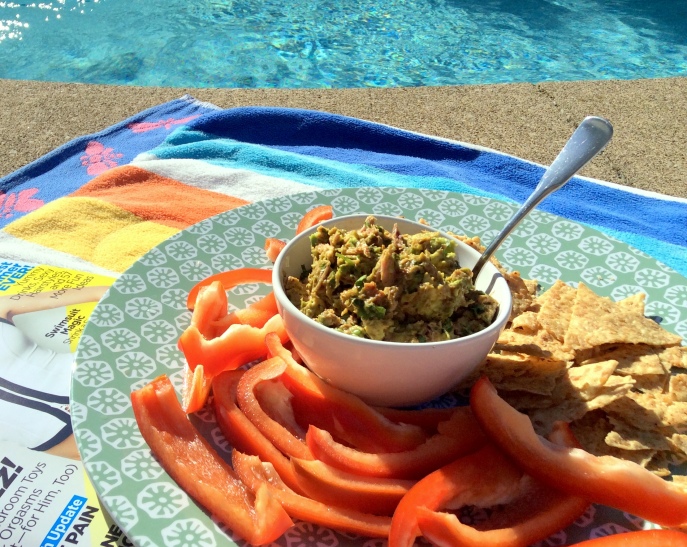
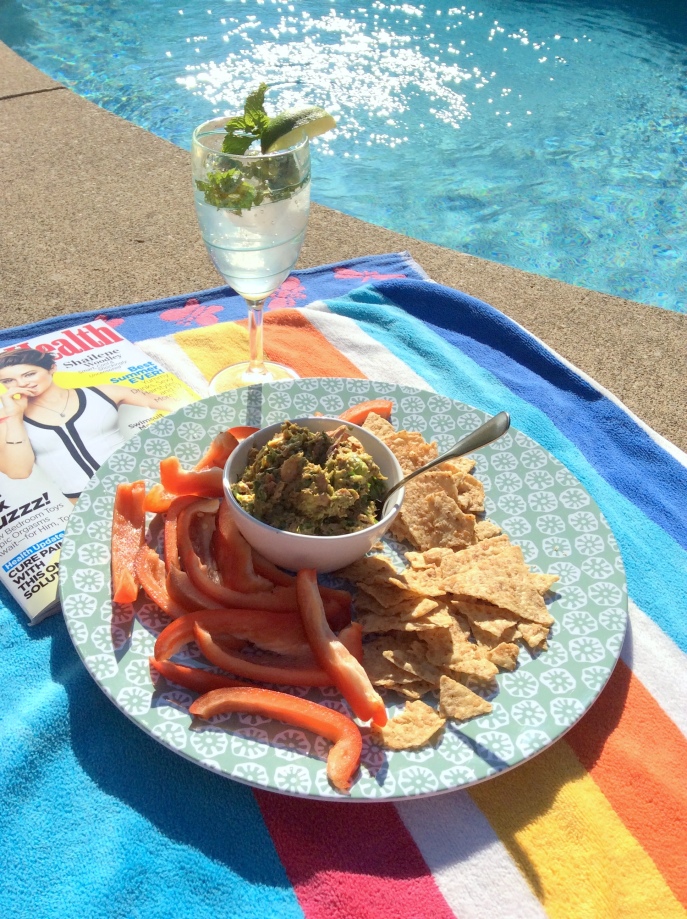
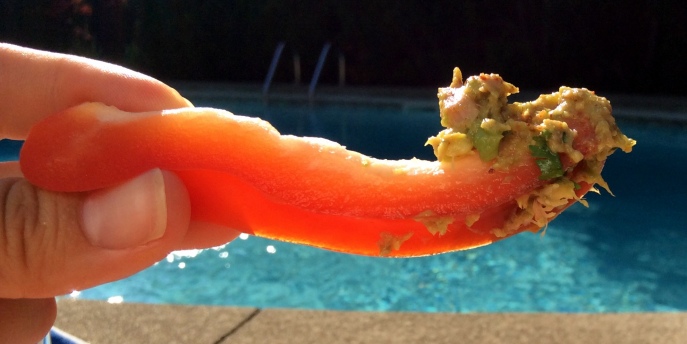
3. Plate it up with the dippers of your choice. I went with baked brown rice chips and red pepper sticks – but the peppers were so good that I ate an entire pepper’s worth of sticks and didn’t even bother with the chips.

IMG_0114

4. If desired, serve with virgin mojitos:) muddle mint and limes in a glass. Add ice, club soda and a few drops of bitters. Drink with a straw. Refreshing for a hard days work of lounging by the pool.

IMG_0123

Yum.

IMG_0118

Fish Tacos with Chipotle Slaw

Standard

P1030106

Chipotle is one of my favourite flavours.  I have to admit, whenever I go out to a pub or restaurant, I am always tempted to get sweet potato fries with the chipotle mayo.  So good!  In this recipe, I’ve got chipotle mayo, a bit healthier because at least you know what’s in it.  I’ve also got a number of my other favourite flavours in this recipe, and if you read my blog, I bet you could guess what they are – lime and cilantro!  Yummmy!  I hope you enjoy this nice, light, refreshing dinner as much as I did.

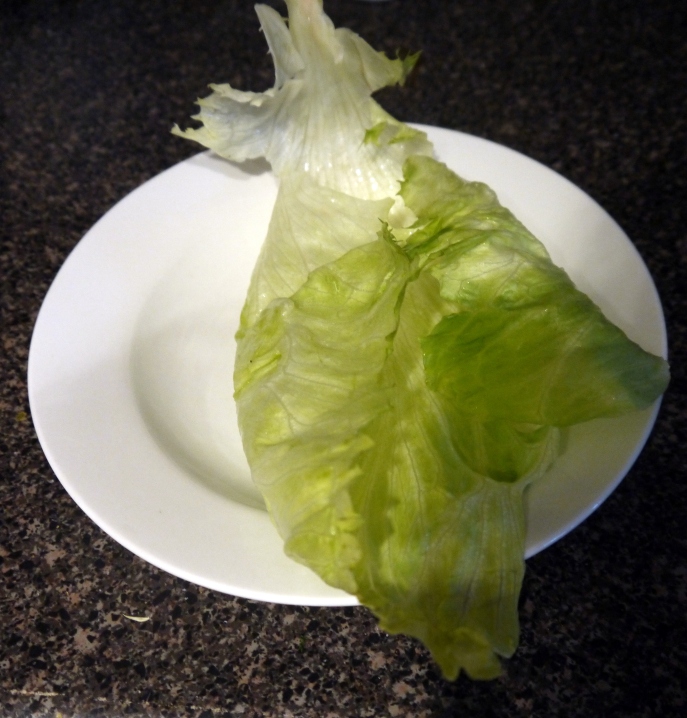
I used iceberg lettuce in this recipe because I wanted the crunch.  Also, because of the iceberg lettuce, I was able to make a whole bunch of these tacos and bring them to work in my lunch – they held up and didn’t get soggy.  If, however, you want something that’s easier to work with and less likely to split apart as you wrap them, boston lettuce would definitely be easier to work with.

On another note, I’ve just done a weigh-in to track my fat-loss progress.  I’m down 13 lbs in the past month.  I’m pretty pleased with this result.  And it definitely encourages me to keep eating this way.

Ingredients:

  • 1/2 cup mayo – I usually make my own to cut down on sugar.  My recipe can be found here.
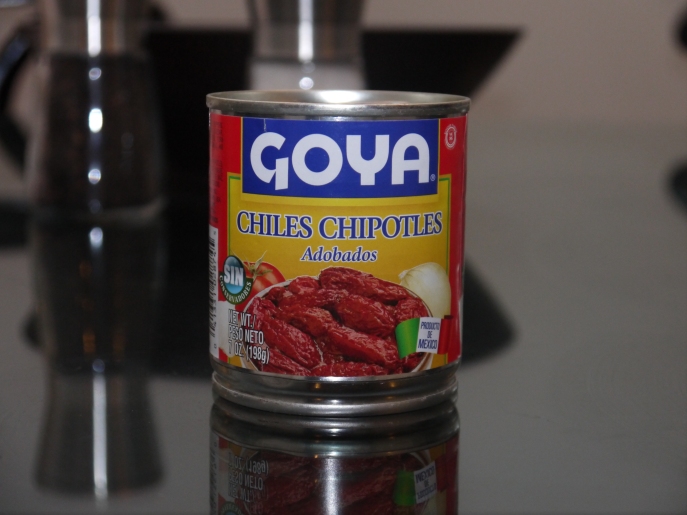
  • 1/2 7oz tin of chipotles in adobo sauce
  • 1 lime
  • 1 cup chopped cilantro
  • 1/2 green cabbage
  • salt and pepper to taste
  • 650 grams cod
  • ground coriander seed
  • 2 tsp extra-virgin olive oil
  • 1 head of lettuce – iceberg or boston

How-to:

1. Start by making the slaw.  Which begins with the mayo.  This recipe makes more mayo then you need.  So save the rest for some home-made baked sweet potato fries.  Measure out 1/2 cup of the home-made mayo and add to a bowl.  Empty 1/2 of the contents of the tin of chipotles and give them a good chop.  Mix in with the mayo.  Mix in the juice from half the lime.  Add salt and pepper to taste.  Make sure it’s delicious and a bit spicier then you normally would like, because this is pretty much all the flavour right here.

P1030067

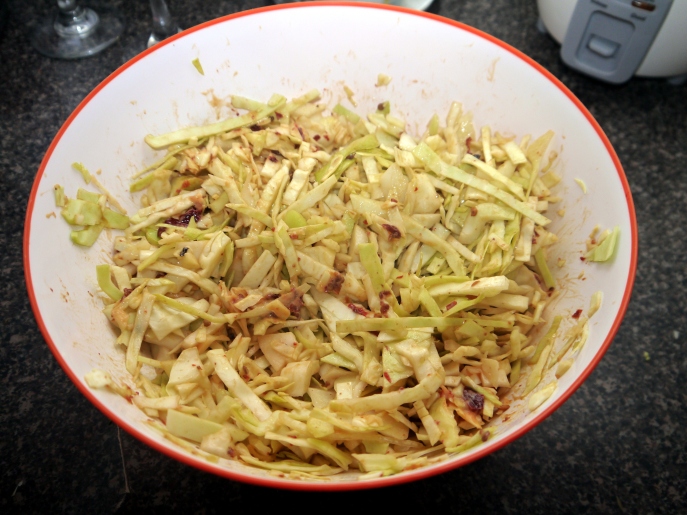
2. Chop up as finely as you can the 1/2 head of green cabbage.  Mix in with about 1/4 cup of the mayo mixture.

P1030069

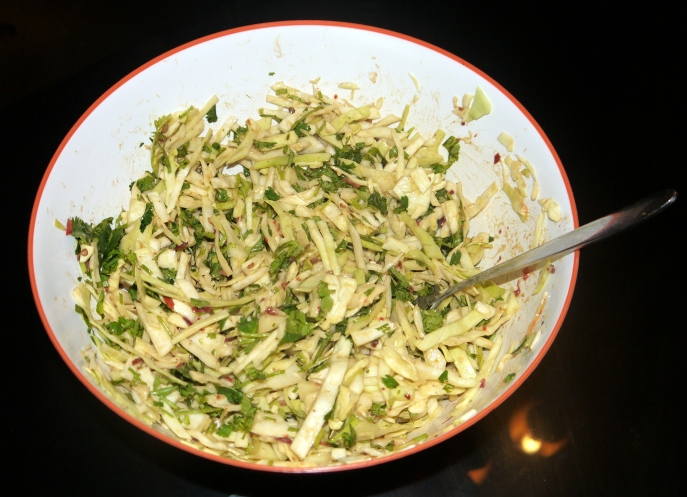
3.  Add in your chopped cilantro.  I love this stuff, so I put in a lot of it.

P1030072

4. Now it’s time to work on the fish.  If you’re good at multi-tasking, for sure, do this while you’re working away at the slaw.  Start by sprinkling about 1 tsp ground coriander over the fish along with salt and pepper to your taste – 1/2 teaspoon of salt, 1/4 teaspoon pepper for me.  Make sure you season both sides of the fish.  Heat your pan on medium high and add in 2 tsp of olive oil. Once hot, add in your fish and cook on both sides – about 3 minutes each.  In the end, you want it cooked through.  I will admit, I probably overcooked mine because it totally flaked apart by the time I assembled my tacos.  Once the fish is almost done, squeeze over the juice of the other half of the lime.

P1030075

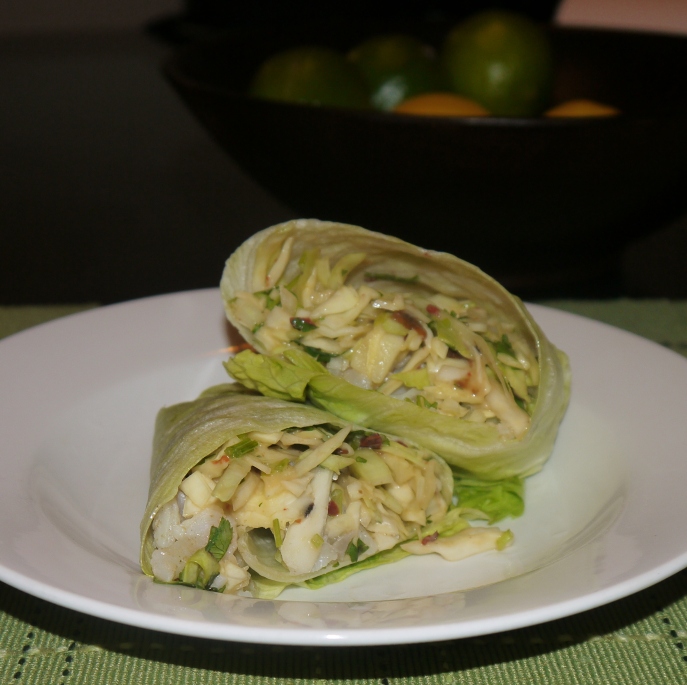
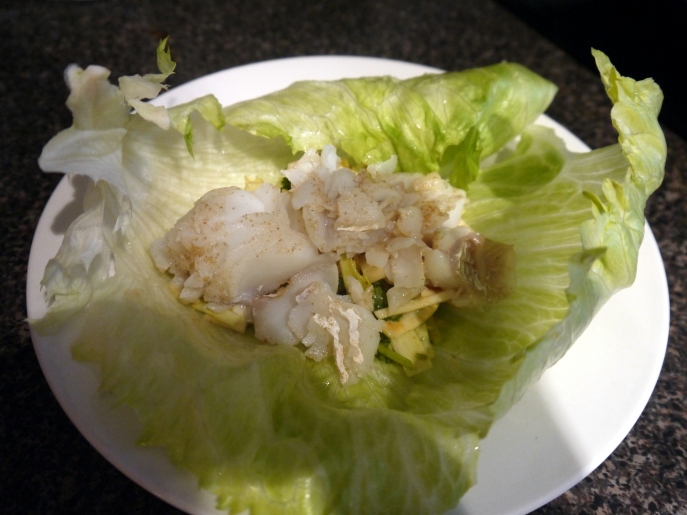
5. Now time to assemble.  Take a lettuce leaf, put in 1/4 cup of the slaw and about 2 or 3 oz. of the fish and then wrap.  Repeat.  This could honestly feed an army – I’ve been eating it all week.  It’s still enjoyable though:)  Serve with a wedge of lime.

P1030078

P1030089

P1030092

P1030093


Taco-less Salad

Standard

So I fell off the wagon a little bit.  This weekend was my 30th birthday.  So it was a little bit excessive.  But awesome.  And worth it.  But now’s the time to get back on to continue with my progress.  Just a little update – I’ve gone down 2 sizes since I started eating this way.  So it works!

Recently, I’ve started to try to go a little lighter on the fats.  Some fats are good, but perhaps, in the long run, the quantities of saturated fats that I’ve been consuming might do more harm than good.

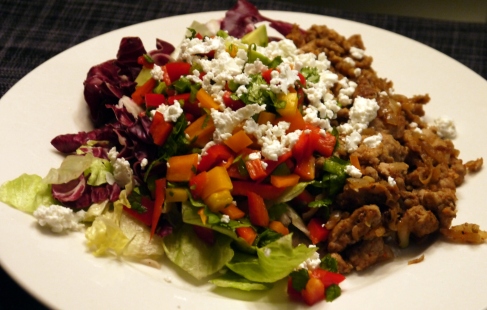
The following recipe is a result of this lower-fat variation on my diet.  It has nice bright flavours that make you happy to eat.

Image

Ingredients:

  • olive oil cooking spray
  • 1 sweet onion
  • 2 cloves garlic
  • 450 g ground meat – I used chicken
  • 1 tsp each of cayenne pepper, dried oregano, ground cumin, ground coriander
  • 5 mini-sweet peppers – or 2 large bell peppers – I used orange and red ones
  • 1 large lime
  • 1 ripe avocado
  • 1/2 lemon
  • 1 tsp salt – I used course sea salt
  • 1 jalapeño pepper
  • a good amount of fresh cilantro
  • 1/2 head ice burg lettuce
  • 1/2 romaine lettuce
  • 4 tbsp 0.5% pressed cottage cheese (you could probably also use light feta)

How-to:

1. Turn up the heat on a large frying pan.  Add non stick cooking spray lightly – maybe 2 seconds worth.

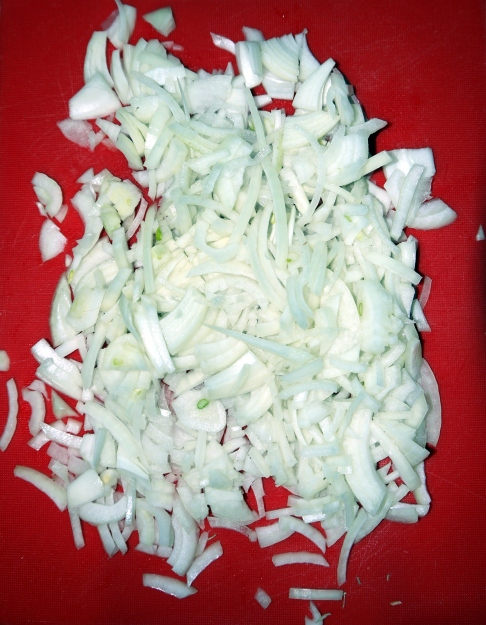
2.  Chop onions as small as you want.  I had the patience and skill to do this:

Image

It all shrinks down in the end.  But if you want it to sort of melt into the ground meat, then go smaller.  Add to the pan.

3. Cook onion for about 5 minutes over medium heat.

Image

4.  Mince garlic as small as you can and add to the pan.  Cook for about 2 minute and then add the meat.  Cook in the pan for another few minutes – til it starts to brown.

Image

5.  Add the spice blend.  Oregano, cumin, coriander, cayenne.  At this point you could add a bit of salt too.  I didn’t though – with the delicious salsa that’s coming up next, I found the seasoning was great.

Image

6.  Give a good stir and then add 1/4 cup of water.  Let this cook for another 10 minutes or until all water is evaporated and the meat is cooked through.  Then shut off the stove and let it stand while you assemble the rest of the salad ingredients.

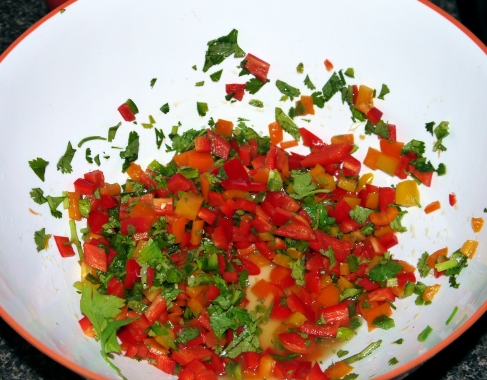
7.  For the salsa, finely chop all peppers – the jalapeños more finely than the sweet bells.

Image

7.  Chop cilantro and add.  Squeeze all the juice from the lime over and add in your tsp of salt.  Mix it up.  Taste it.  Mmmmm.

Image

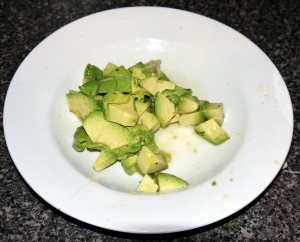
8. Remove the flesh of the avocado from the peel and the pit.  Slice/chop it and squeeze the juice of half a lemon over it to prevent it from turning brown.  I feel justified adding in a high-fat ingredient like an avocado because we’ve skipped on the fat elsewhere in this recipe.

P1020355

9.  Chop the lettuce.  I chopped it into 1 inch by 1 inch squares.

10.  Assemble!  You can do this all on one plate to present to a small crowd or you can plate it up in individual portions on 4 plates.  Start with the lettuces, then  pile on the beef.  Then 1/4 of the avocado mixture and the salsa.  Top it off with the cottage cheese – which adds salt and texture and it also looks nice.  Dig in!

Zucchini Pasta with Kale Pesto

Standard

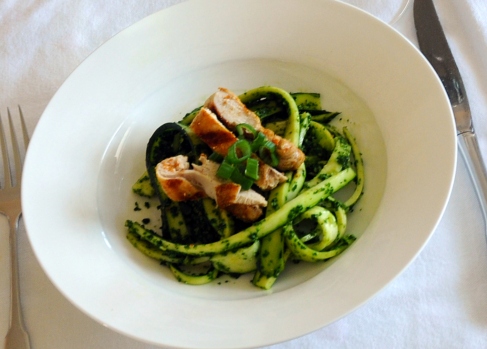
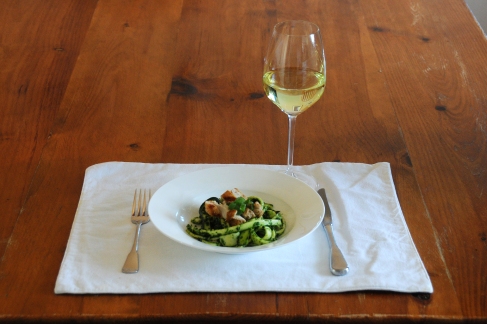
Trying to maintain a low-carb diet, but craving something Italian?  Well you’re in luck.  Here is an alternative to pasta that’s delicious and packed full of good stuff.

Image

This pesto would be really good on practically anything.  I made two batches of it, so I’m thinking that sometime this week, I’ll grill some white fish and top it with this delicious pesto.

For the Pesto:

Ingredients:

  • 1/3 bunch of kale
  • 1/2 cup almonds
  • 1 glove of garlic (or 2 if they’re small)
  • 1/2 cup extra virgin olive oil
  • salt to taste

How-to:

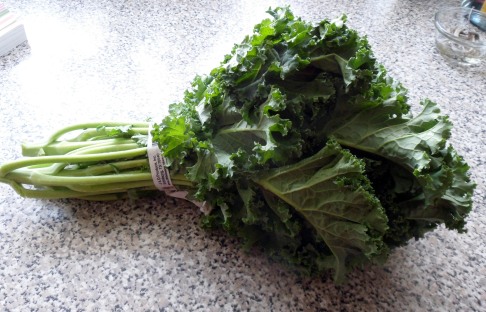
1. Wash and take the ribs out of 1/3 of a bunch of kale.

Image

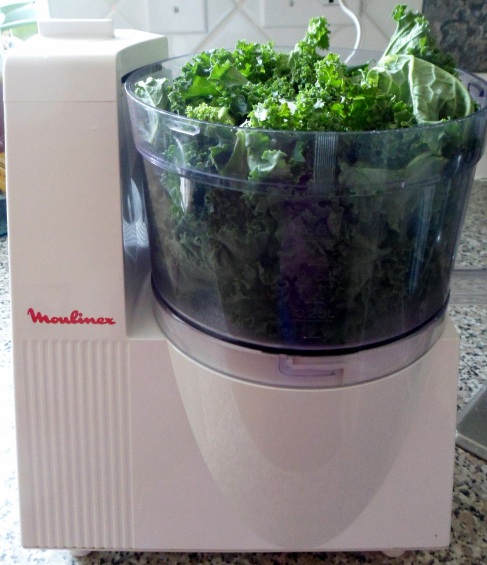
2. Pack as much kale as you can into the food processor.

Image

3. Process Kale until it it’s in little tiny pieces.

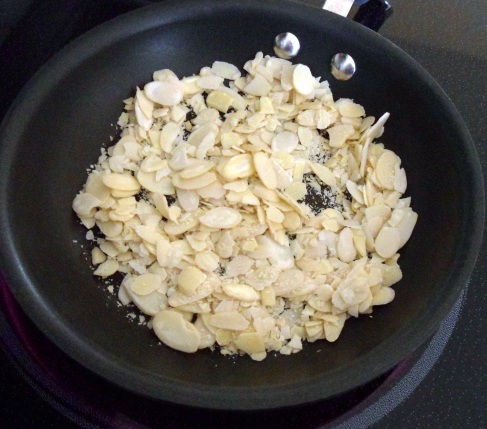
4. Toast almonds on high heat.  This doesn’t take long.  Just do it until you can smell the nuttiness and you can start to see a little colour.

Image

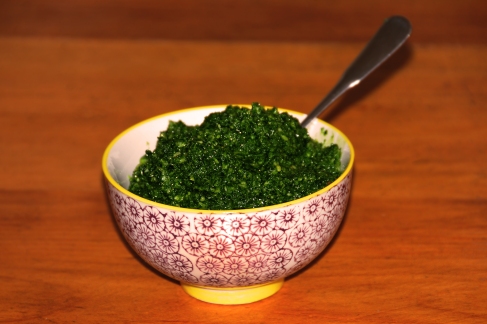
5. Peel the glove of garlic and toss it in the processor.  Add in the almonds, oil and a good amount of salt.  Blend.

Image

This makes a delicious, thick, flavourful pesto.

For the Pasta:

Ingredients:

  • Zucchini (4 small)
  • 1 chicken breast
  • 1 tbsp corriander
  • 1 tsp paprika
  • salt and pepper
  • pesto (1 full recipe)
  • roasted red peppers (optional)
  • green onion (optional)

How-to:

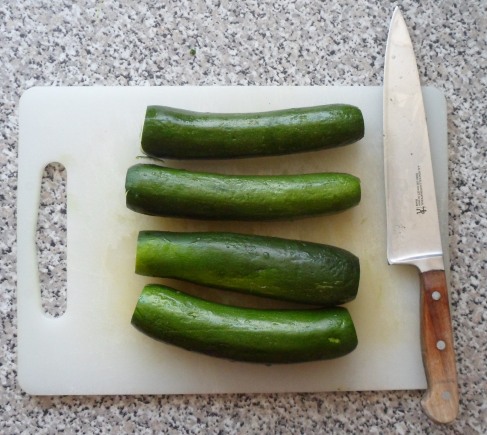
1. Cut ends off zucchini.

Image

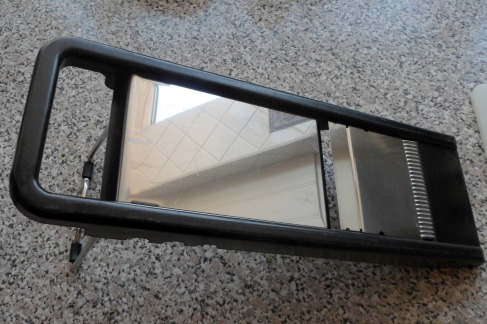
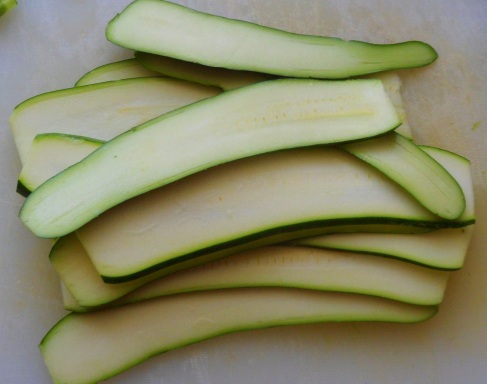
2. Thinly slice zucchini lengthwise.  I used a mandolin for this step.

Image

Image

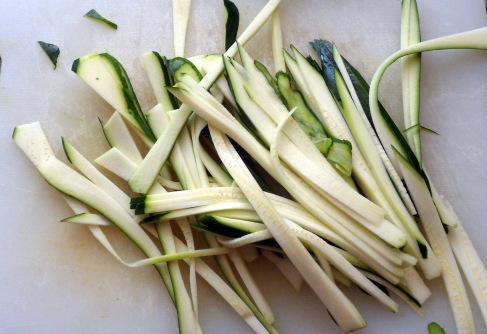
3.  Take the thick slices, stack them and slice them into noodles.

Image

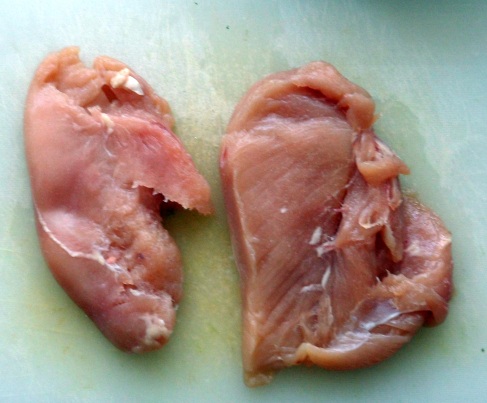
4. Put raw chicken on a cutting board, cover with parchment or wax paper and pound it with your fists or whatever instrument you wish until it comes out nice and uniform in thickness.  This makes it cook faster and more evenly and makes it more tender and juicy.

Image

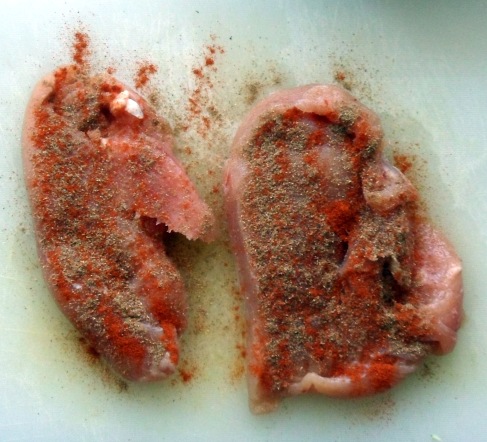
5. Season the breast with the spice.  It seems like a lot, but it makes a nice coating which becomes crispy on the grill.

Image

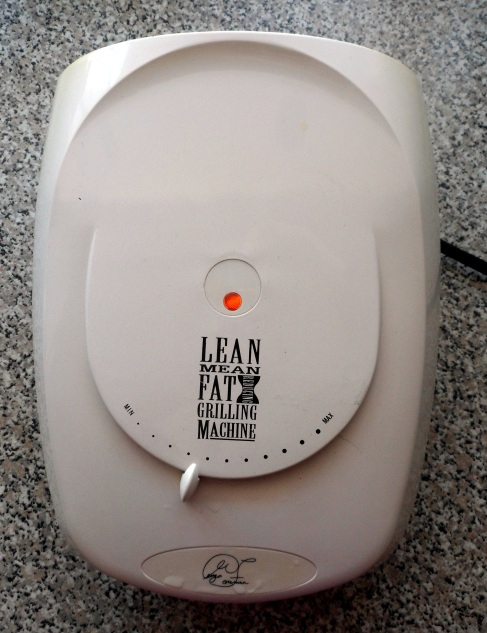
6.  I used my George Foreman grill on medium low heat to grill this.  You could also pan sear it in what ever fat you like or do it on a barbeque.

Image

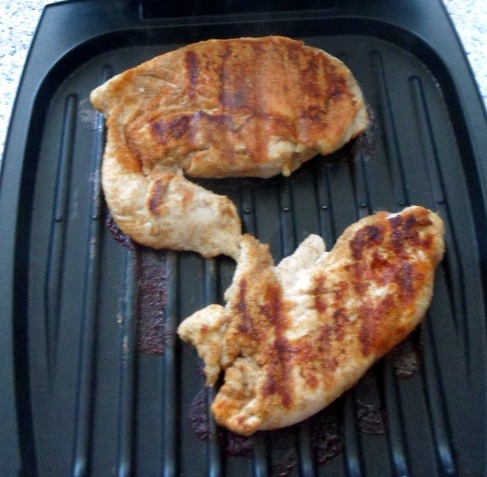
7.  When the chicken has char marks, it’s done.  Take it off the heat and let it rest for a while.

Image

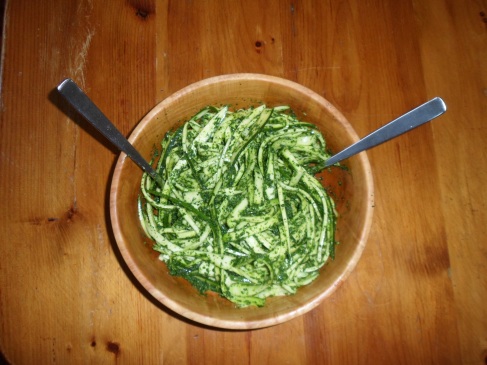
8.  Toss the zucchini noodles with whatever low-carb veggies you like (I think roasted red peppers would be amazing) and the pesto. I don’t bother cooking the zucchini.  I think it’s pretty good as is.

Image

9.  Cut up the chicken and toss into the pasta.  Then eat up!  I’m looking forward to having this for my lunch, probably for most of the week.

Image

Caramelized Onion and Kale Frittata

Standard

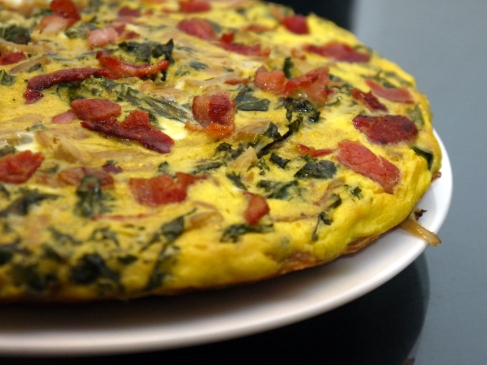
This recipe turned out so well!  I don’t think I’ve ever enjoyed eating kale so much.  And there is a large quantity of kale in this dish.

Image

FYI – My personal trainer tells me I should be eating as many cruciferous veggies as I can.  Definitely 3 meals a day.  So this recipe helps me do this!

Ingredients:

  • 4 slices of bacon
  • 2 sweet onions
  • 1 bunch of kale
  • 6 sprigs of fresh thyme
  • 8 eggs
  • 1/3 cup 35% cream (if you want to go easy on the fat, you could substitute milk or cream of any fat percentage)
  • salt and pepper to taste

How-to:

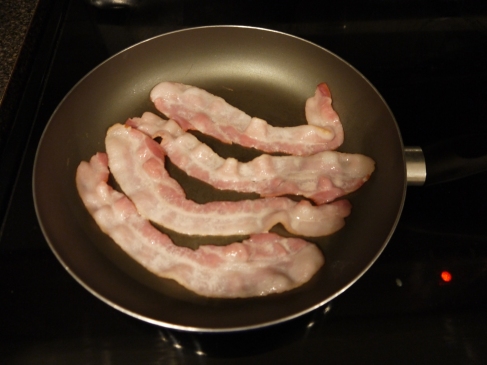
1. Fry bacon on the stove top.  Make sure you leave the fat in the pan!  We’re gonna use that.  You should be sure to use a pan that will be the right size for your frittata because the entire process will be done in this pan.

Image

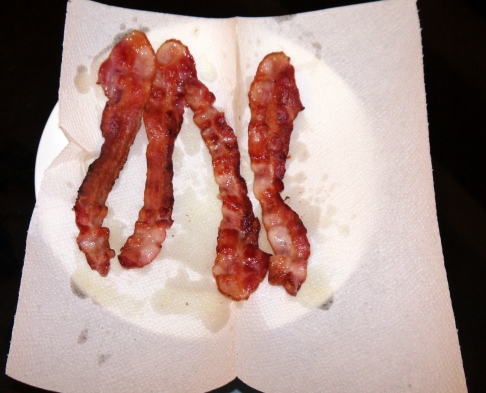
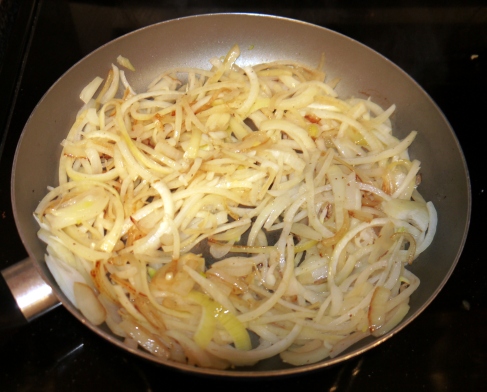
2. Once cooked to your liking (I like mine crispy), let the bacon chill out on some paper towel.

Image

3. Chop onions and add to bacon fat in pan.  Fry onions on medium heat.

Image

4. Stir the onions occasionally, but the idea here is to caramelize them.  It will probably take 10 minutes for the onions to get nice and brown and soft.

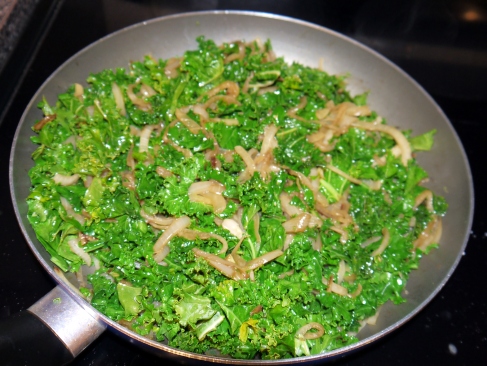
5. Meanwhile, take the ribs out of the kale and chop it all up.  Once onions are where we want them, add in the kale.  It will seem like an enormous amount of veggies in the pan.  This is a good thing!  And it will reduce as the kale wilts.

Image

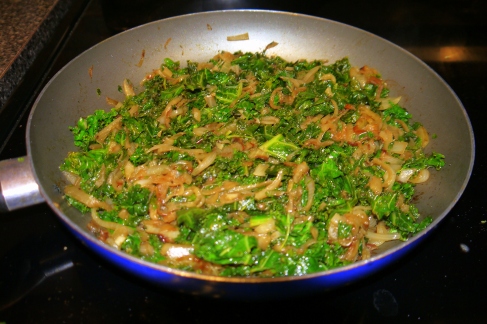
6. Stir kale with onions over medium heat for about 5 minutes or until kale wilts and there’s enough room in the pan to add in the eggs.

Image

7. Run your fingers along each sprig of thyme to get the leaves off the stem.  Add to the veggie mixture.  Thyme really adds a lot to this dish and it smells so good while you’re cooking with it.  Add some salt and pepper at this point.

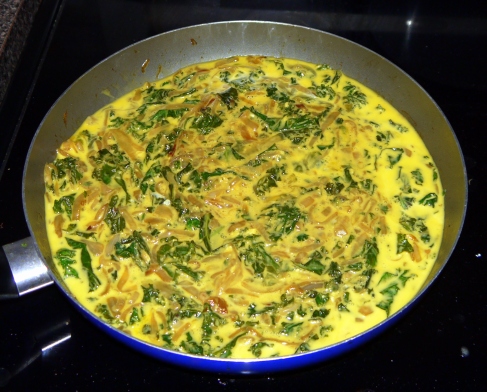
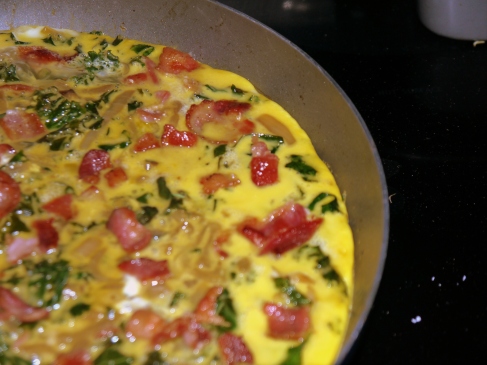
8.  Beat 8 eggs and 1/3 cup 35% cream in a bowl.  Add to your pan and quickly stir it around so that the eggs get mixed evenly with the veggies.  Once mixed, crumble the bacon and sprinkle evenly over the frittata.

Image

9. Continue to cook over medium heat for about 5 minutes.  You’ll know it’s ready for the next step when the frittata starts to pull away from the sides of the pan.  Meanwhile, preheat the broiler to high (500 degrees).

Image

10. Put the pan and its contents under the broiler (top rack in the oven).  If you are unsure about how well your pan will do under the broiler, usually wrapping the handle in tin foil will do the trick.  I keep the oven door open during this step so that I can watch because it cooks quickly!  For me, I had it under the broiler for about 3 minutes – until it started to look nice and golden and set on top.

11.  Now this is the moment of truth: time to flip over the frittata.  If you can, it’s nice to use a spatula to loosen the frittata from the pan and slide it onto the plate.  If this isn’t working out so well, you can place a serving plate on top of the pan and flip.  And hope that it’s not going to stick.  Then you can flip it onto another plate so the up-side is up.  You want to see all that bacony goodness that’s on the top of this delicious dish.

Image

I hope you enjoy this as much as I did!

P.S. I’ve been using eggs a lot this week.  They are definitely easy and quick, which is very useful when doing this kind of diet.  Nonetheless, I intend to switch it up for next time.  Stay tuned!

Mushroom and Kale Omelette

Standard

So I took that same mushroom ragout from my low-carb toad in the hole and I made a delicious omelette! I might like it even better this way.  It’s a tough call.

Image

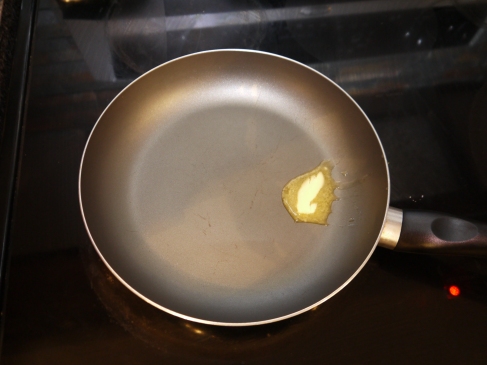
Start with a tsp of butter in a hot pan:

Image

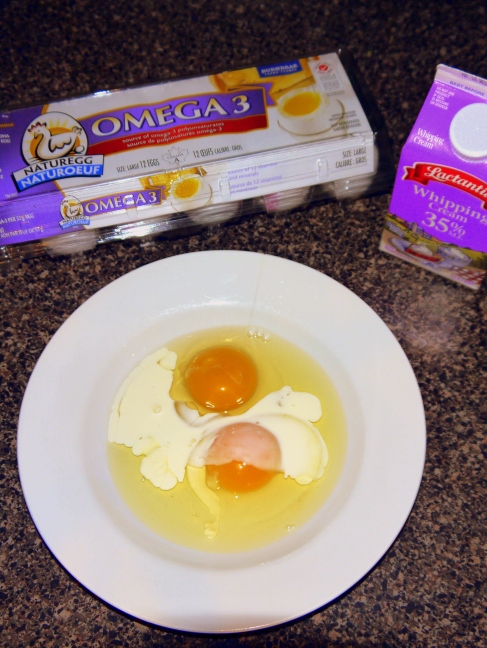
In a bowl, beat 2 eggs with a tbsp 35% whipping cream.  Whipping cream is the dairy product with the least amount of sugar.  For a low-sugar diet, it is better than any other form of dairy.

Image

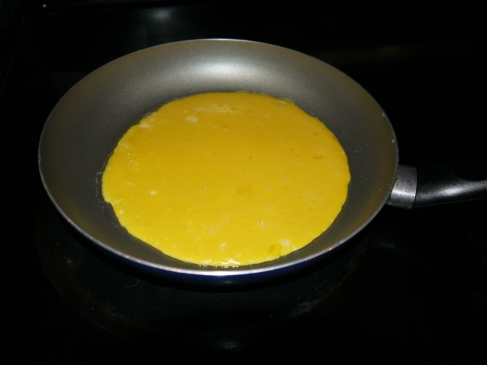
Pour it over the melted butter in the pan and let cook.

Image

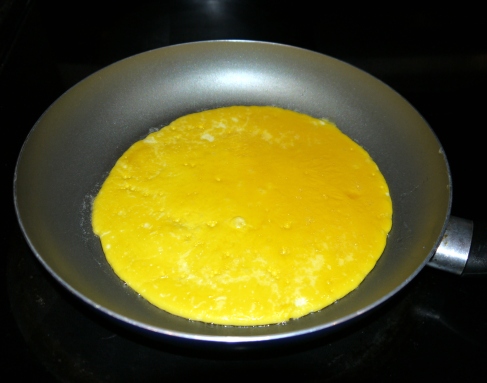
I only cook my omelettes on one side.  I spend a bit of time in France and while there, I really began to enjoy eggs that are soft and gooey.  That is what I’m going for with this omelette.  If you like yours hard-cooked, then perhaps reduce the temperature and cook it for longer or put it under the broiler to finish it off.

Image

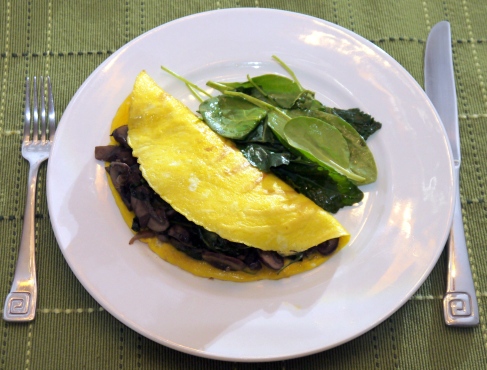
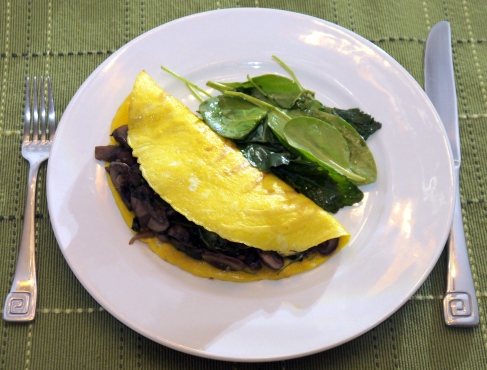
When it reaches the above colour/texture, that’s when I layer on that flavourful ragout from my previous recipe (warmed, of course).  Then I plate it, folding over one side of the egg.  Served with some greens with lemon and olive oil, it makes a delicious breakfast.  Enjoy!

Image